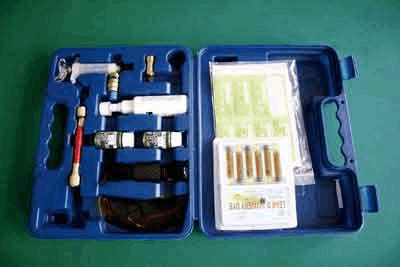
The car air-conditioning system will enter a high-risk period in hot weather. In the various faults of the air-conditioning system, the slow leakage of the refrigerant is one of the most troublesome faults for the maintenance personnel, because the symptoms are not obvious, the scope is large, and the maintenance time is long. There are many parts to be removed. In order to find the specific part of the leaking refrigerant, maintenance companies need to use a variety of detection methods to solve the problem, which is a reliable and convenient detection method, with fluorescent leak detection and halogen leak detection is the most exemplary. Here, a fluorescent leak detection kit will be used for a Changan car that has been tested for slow refrigerant leakage.
1. Introduction to Fluorescent Leak Detection
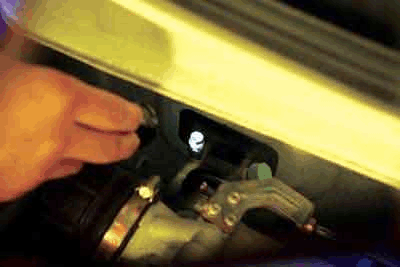
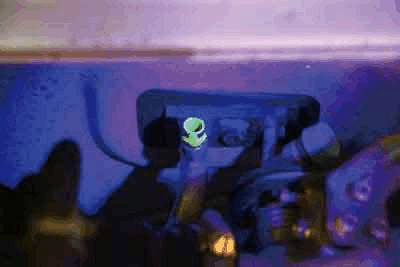
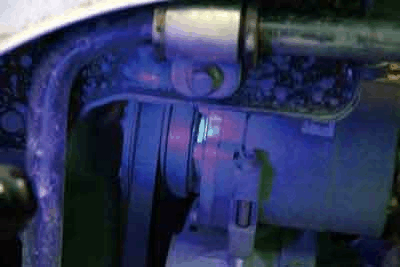
Fluorescent leak detection is the principle of using a fluorescent leak liquid to emit bright yellow-green light when illuminated by an UV Lamp to detect fluid leaks in various systems. In addition to being used for air conditioning, it can also be widely used in refrigeration systems, hydraulic systems, lubrication systems, transmission systems, fuel systems and cooling systems. When used, it is only necessary to add the fluorescent dye to the system in a certain proportion. In the system, it operates for 20 minutes. Wear special glasses and use a uv torch to illuminate the leaking tubing. The leak will be yellow-green (Fig. 2).
2. Preparation before Leak Detection
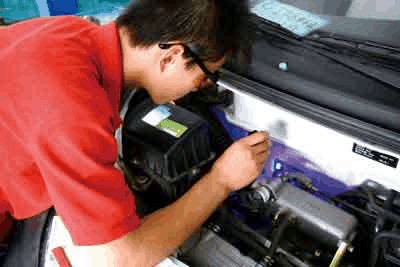
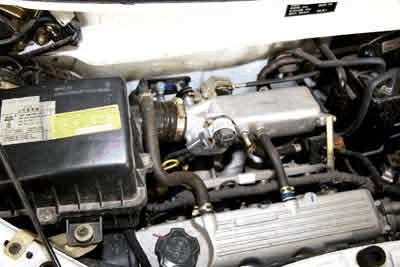
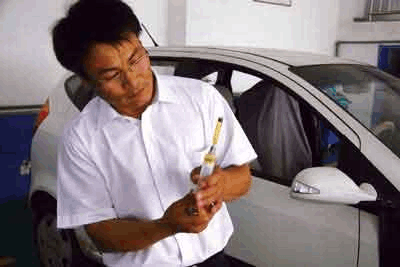
To ensure a safe and effective application of the fluorescent leak detection, the tester wears fluorescent protective glasses at the beginning of the leak detection (Fig 3). According to the operating regulations, the special glasses need to be worn from beginning to end. Before adding the fluorescent dye, it is necessary to confirm whether the vehicle has been previously filled with the corresponding products in order to avoid fluorescent dye conflict or useless work in the system. Some new cars will be labeled on the engine in a prominent position, indicating that the system has added the fluorescent dye beforehand (Fig. 4).
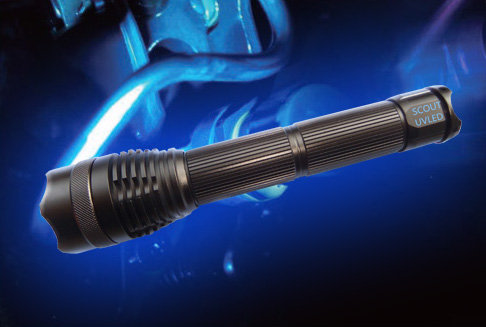
Open the nut of the air conditioning low pressure system filler port, and then use the S-5W uv torch (Fig. 5) to illuminate the valve port area. Press the valve needle quickly and gently to bring out some refrigeration oil and tracer. If the valve port can see fluorescence (Fig. 6), then there is a fluorescent dye in the system that can start leak detection directly. The valve port is fluorescent, and a mark should be made to avoid misleading subsequent leak detection work. By carefully observing the car, it was found that there was no dye in the released frozen oil. Then you need to add the fluorescent dye in proportion. According to the billion state regulations, a car can be filled with about 3~5 mL (Fig. 7), and after the filling, the label of fluorescent dye should be added to the eye-catching part of the engine in order to facilitate the future leak detection of the car.
Fig. 5 S-5W uv torch for fluorescent leak detection
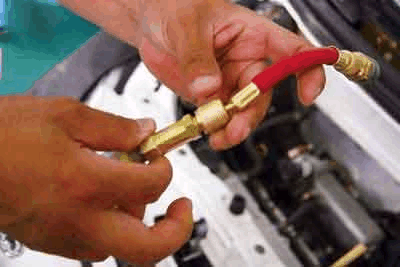
Check the pressure gauge to find a certain amount of refrigerant in the system. Fill the 3~5 mL fluorescent tracing dye with a 20 mL syringe from the air conditioning low pressure system filling port. There is a connecting hose and a check valve between the injector and the filling port (Fig. 8). The connecting hose can ensure that the vehicle with special or narrow bending position in the inspection filling port can be filled with the syringe smoothly. The one-way valve can guarantee the refrigerant and tracing dye in the air conditioning system does not flow back into the syringe. These two devices ensure that the tracing dye can be smoothly filled into the air conditioning system. Allow the compressor to run for at least 15 minutes after filling to distribute the tracing dye evenly.
3. Leak Check Processing
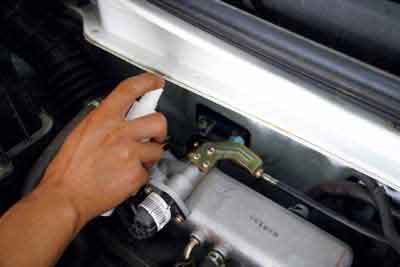
Due to the short time, the mixture of the fluorescent tracing dye and the frozen oil leaks less at the leak point, so only a large leak point can be detected at this time. If no leaks are found, the air conditioning system should be re-inspected after a week or more. If there is a leak at this point, there is enough mixture of tracing dye and lubricating oil to collect at the leak point, and fluorescence can be seen under the Leak Detection UV Torch. When the engine is stopped, check the entire system with a leak detection uv lamp. Check with dark ambient light to increase the brightness of the leaky fluorescence. Inspect the entire refrigeration system, paying particular attention to the damage or corrosion of all part weld areas and all connections. Use a uv torch to illuminate the condensate outlet and check for leaks in the evaporator. Check the refrigeration system one by one, and do not miss any areas and leaks. Continue to check the remaining parts after a leak, and there may be other leaks. Need note: Some leak points at the seal of the compressor shaft may be a problem of the system itself, which is a normal leakage range. (Fig. 9).
After careful detection, it was finally found that there was a slight leak in the pipe joint at the outlet of the condenser. Replace the joint according to the regulations, and after the leak was processed and the trapping was completed, remove all the fluorescent residue with a fluorescent detergent (Fig. 10) to avoid giving The next overhaul is inconvenient. Finally, the refrigerant of the system is added to the required amount for operation, and the entire detection work is completed.

