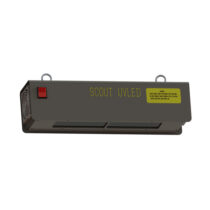
Since single-crystal high-temperature alloys eliminate all grain boundaries and easy sources of cracking, they have the advantages of long life, low creep rate and good heat fatigue resistance.
In the solidification process of single-crystal high-temperature alloy casting, there are many factors that affect its organization and performance, such as the complexity of the alloy composition, process conditions and parameters of unreasonable can cause inclusions, laxity, pores and cracks and other defects. The presence of these defects can cause premature failure of the parts, so the single crystal high-temperature alloy parts need to be non-destructive testing to ensure the quality of the parts.
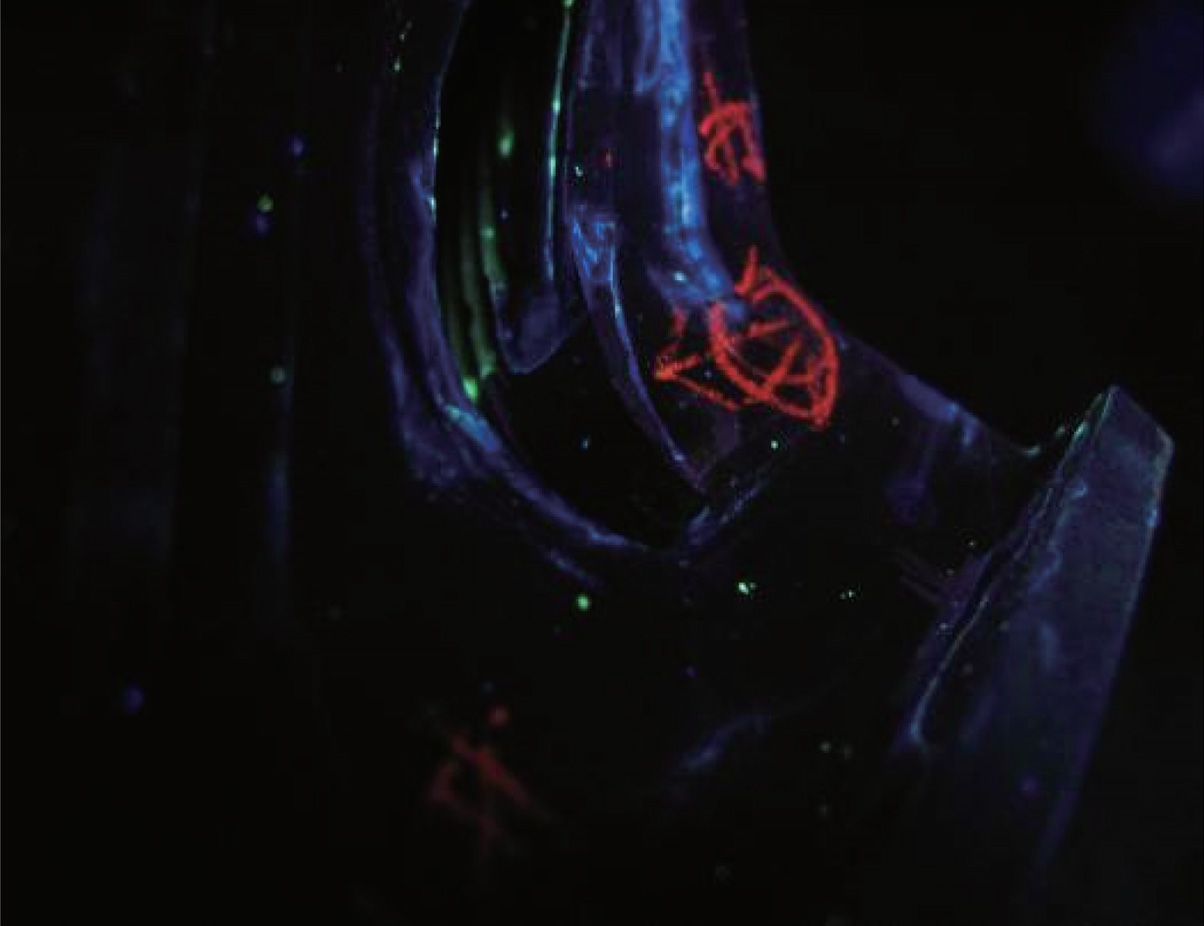
Fluorescent penetrant inspection is the most important non-destructive means to ensure the surface quality of single crystal high-temperature alloy castings, which can detect cracks, inclusions, laxity and other defects on the surface of parts, and the detection sensitivity is high, and is widely used in the quality control of the surface of aircraft engine blade parts.
SCOUT UVLED analyzed the defective fluorescence display of IC10 single crystal high temperature alloy blades during fluorescent penetrant inspection and determined the nature of the defect. The characteristics and differences of the common permeation detection sensitivity levels and methods of aero-engine turbine blades were obtained through the comparative permeation detection test. The results show that the fluorescence of IC10 single-crystal high-temperature alloy blade defects are mainly microscopic lax defects, and the post-emulsification method is more suitable for defect detection. The research results provide data support and quality assurance for the quality control of single crystal high temperature alloy blades and other key components and the safe operation of the engine.
1. Test materials and methods
The test material selects IC10 single crystal high temperature alloy, the material is to meet the requirements of China’s advanced high thrust to weight ratio aero-engine developed a new type of directional solidification high temperature alloy material, the use temperature reaches 1100 ℃, has good oxidation resistance, corrosion resistance, excellent casting performance. In addition, the material can be carried out large edge plate and other complex structure hollow guide blade of the whole directional solidification forming, IC10 single crystal high temperature alloy of the main chemical composition (mass fraction) for C0.07% ~ 0.12%, Cr6.5% ~ 7.5%, Co11.5% ~ 12.5%, W4.8% ~ 5.2%, Mo1.0% ~ 2.0%, Al5.6% ~ 6.2%, Ta6.5% ~ 7.5%, Hf1.3% ~ 1.7%, B0.01% ~ 0.02%, Ni for the margin.
In accordance with the three-stage self-emulsification method specified in the process, the IC10 single crystal high-temperature alloy blade fluorescence penetration detection, and record the defect display, then the defect location sampling, using metallurgical microscopy for microscopic observation to determine the defect properties. Then, a three-stage sensitive post-emulsification method was used to check the effect of self-emulsification and post-emulsification on the fluorescence display of the defects on the IC10 single crystal high-temperature alloy blades.
Figure 1. Fluorescent penetrant inspection results of IC10 single crystal high temperature alloy blade after self-emulsification
2. Test results and analysis
Three IC10 single crystal high-temperature alloy blades were detected by fluorescence permeation using three-stage sensitive self-emulsifying permeate, and the results are shown in Figure 1. The results are shown in Figure 1. It can be seen that there are dots or flakes of fluorescence on the local surface of each blade
The three IC10 single crystal high temperature alloy blades were tested by emulsified permeate with three levels of sensitivity as shown in Figure 2. It can be seen that the fluorescence display in Figure 2 is clearer than the fluorescence display in Figure 1, and there is a slight dotted fluorescence display in other areas.
Figure 2. Fluorescent penetrant inspection results of IC10 single crystal high temperature alloy blade after emulsification
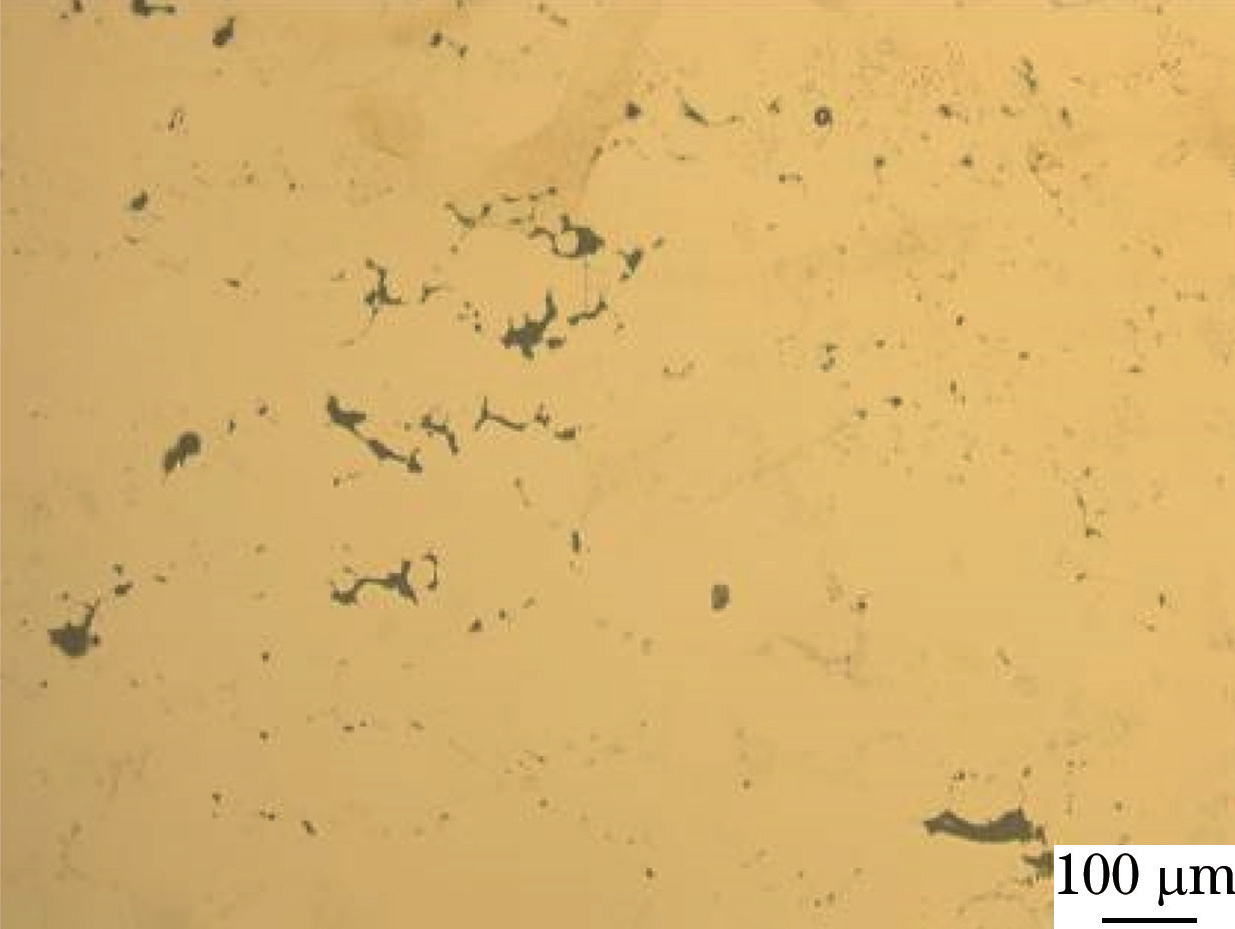
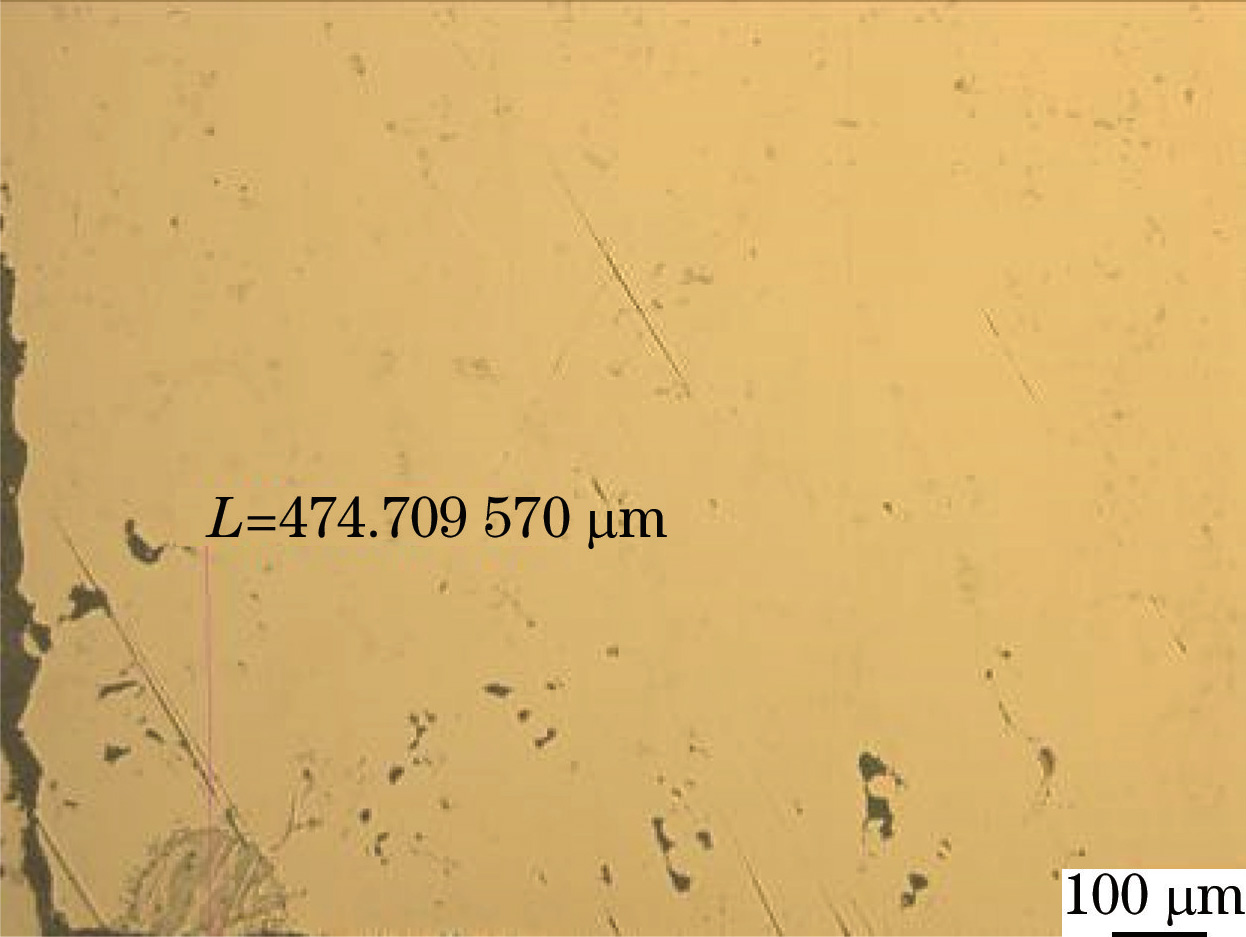
Both serious dotted or lamellar fluorescence on the display site of the No. 1 blade to sample the metallographic specimen, and then observed under the microscope, and found that the fluorescence shows the nature of microscopic laxity defects, and more serious, the maximum diameter of laxity defects can reach 150μm, as shown in Figure 3. The sample was taken at depth for the laxity defect, and the depth of distribution was observed as shown in Figure 4, and the depth of distribution was within 0.4 mm.
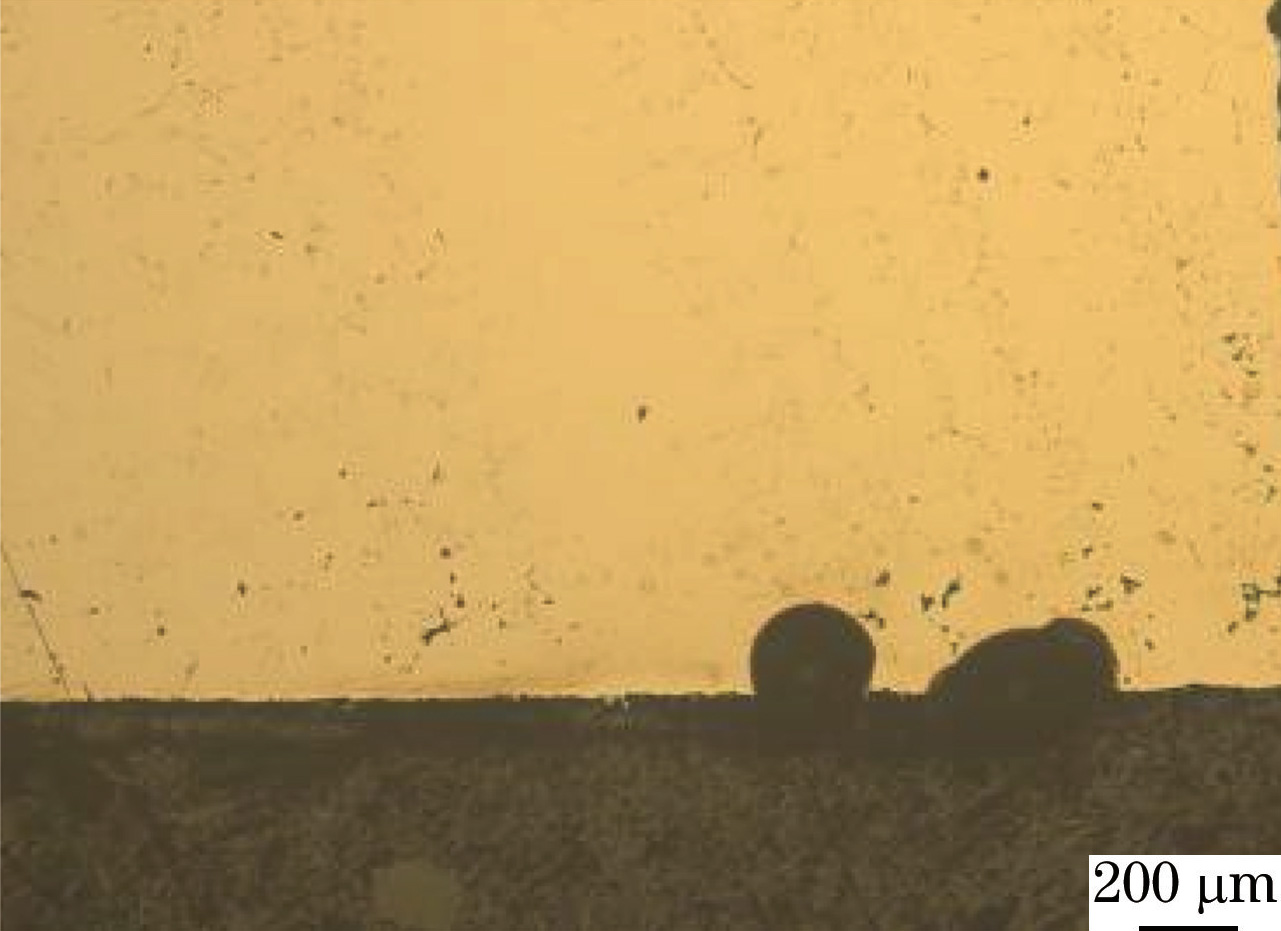
The slight dotted fluorescence on the No. 1 blade to sample the site of the display of metallographic specimens, and then observed under the microscope, the results are shown in Figure 5, and found that the nature of the fluorescence display is still microscopic lax defects, and relatively slight, the maximum diameter of the lax defect is only about 15μm, the depth is only 0.1mm.
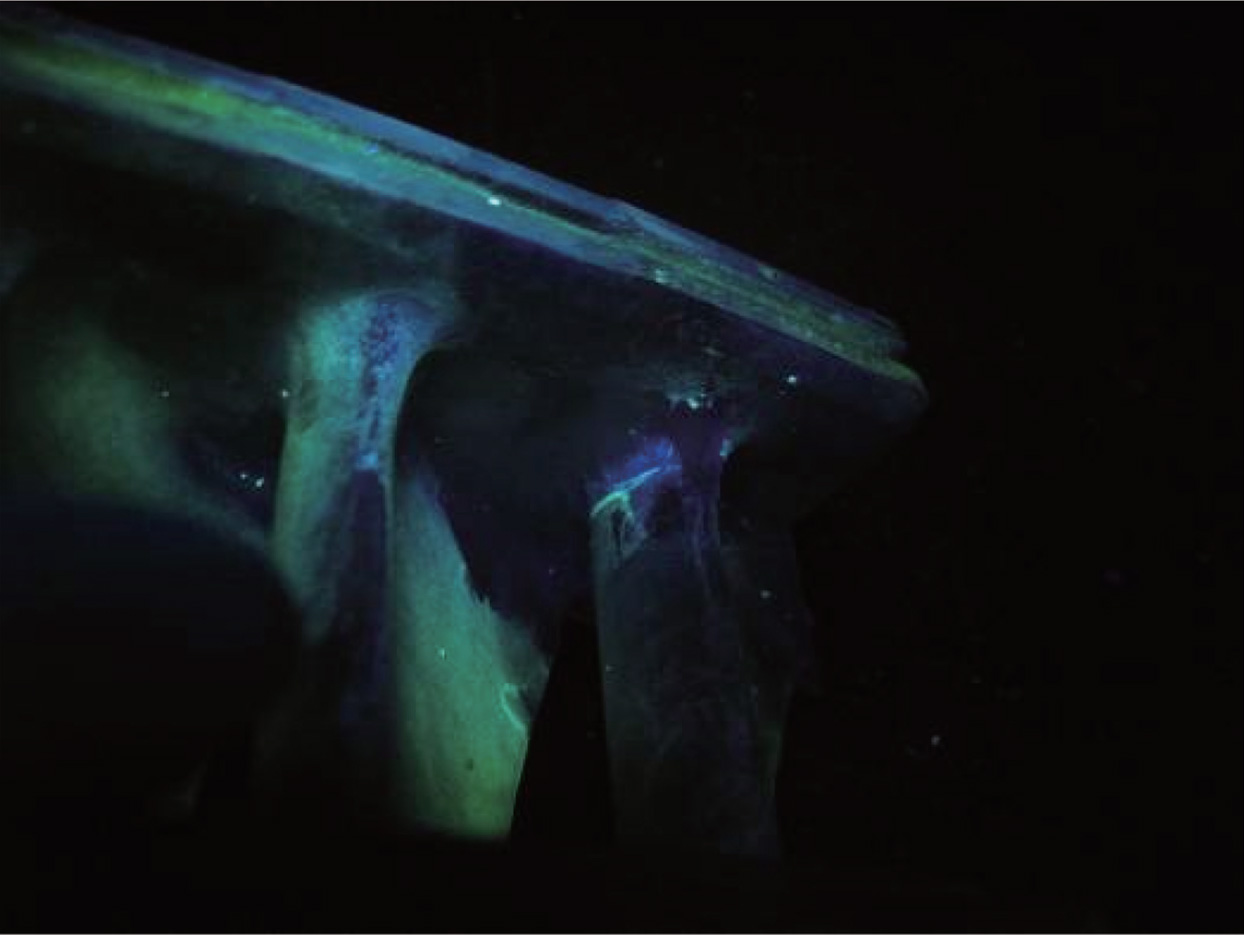
After polishing and sanding the No.2 blade, the depth of sanding is about 0.1mm, as shown in Figure 6, the fluorescence has disappeared, indicating that it has been sanded out.
Figure 7 shows that the No. 3 specimen after grinding the penetration test results, visible fluorescence does not all disappear, but there is still a slight fluorescence shows that there. Description of the depth of the microscopic laxity of the depth of more than the grinding depth, resulting in defects have not been excluded clean.
The above test results show that the fluorescence of IC10 single-crystal high-temperature alloy blade defects are mainly microscopic loose defects, the microscopic loose diameter is between 15 and 150μm, and the depth range is mainly 0 to 0.4mm.
Microscopic laxity defects vary in size and exist in three ways: (1) the defect is fully exposed to the surface, the opening is deep and easy to detect; (2) part of the laxity defect is not exposed to the surface, the permeate does not penetrate into the defect, the defect cannot be detected; (3) the defect is exposed to the surface, but the opening is very small, the permeate penetrates into the defect slowly, and the permeate in the defect is difficult to re-permeate out, resulting in insufficient imaging. These conditions can lead to missed inspections.
The above tests (Fig. 1 vs. Fig. 2) show that the use of post-emulsification permeation detection methods can detect as small defects as possible and defects with small openings and large internal volumes. Therefore, the post-emulsification permeation test is more suitable for the detection of defects.
3. Conclusion
- The fluorescence of IC10 single-crystal high-temperature alloy blade defects shows that the main defects are microscopic loose defects, the diameter of microscopic loose is 15~150μm.
- In the process of permeation inspection, the inspection technicians should give due consideration to defects with large size and small surface opening.
- Post-emulsification penetration test method is more suitable for IC10 single crystal high temperature alloy blade inspection.

